This post is sponsored by the makers of Ball® home canning products
If you love to bake, you NEED to have a baking station in your kitchen. You may be wondering what a baking station is. A baking station is a dedicated space in your kitchen where all of your baking ingredients and baking products live.
In this blog post, we are diving in and going step-by-step on how to organize a baking station in your kitchen and bring your space to life!
This project is perfect for those of you who are looking to revamp your current baking situation and even for those of you who don’t have a setup put together.
Let’s get into it!

Baking Station Organization
Step 1 | Designate a Space
This is the first (and most important) step in organizing your baking station in the kitchen. Here are a few questions to ask yourself to help make the process easy:
- Where do I bake in my kitchen most often?
- How often do I bake?
- Do I have any extra empty space?
- How many baking supplies/ingredients do I have?
These questions will allow you to analyze your kitchen objectively to help you find a space that’s functional and easy to use on a daily basis.
Now – If you still don’t know where you want to put your baking station (or move it), here are a few common places that work really well for most kitchen layouts:
- The pantry
- A kitchen cabinet
- A deep drawer
- A rolling cart
Step 2 | Make a List of Your Supplies
Now that you’ve figured out where your baking station is going, it’s time to put together a list of all of your baking ingredients and supplies that you have on hand.
Grab a piece of paper (or your phone) and jot down everything you see. You may not have everything on hand, so be sure to think about any extra things that you may have after your trip to the grocery store.
You will need this for the next step to make sure you have enough containers for everything to have a home.
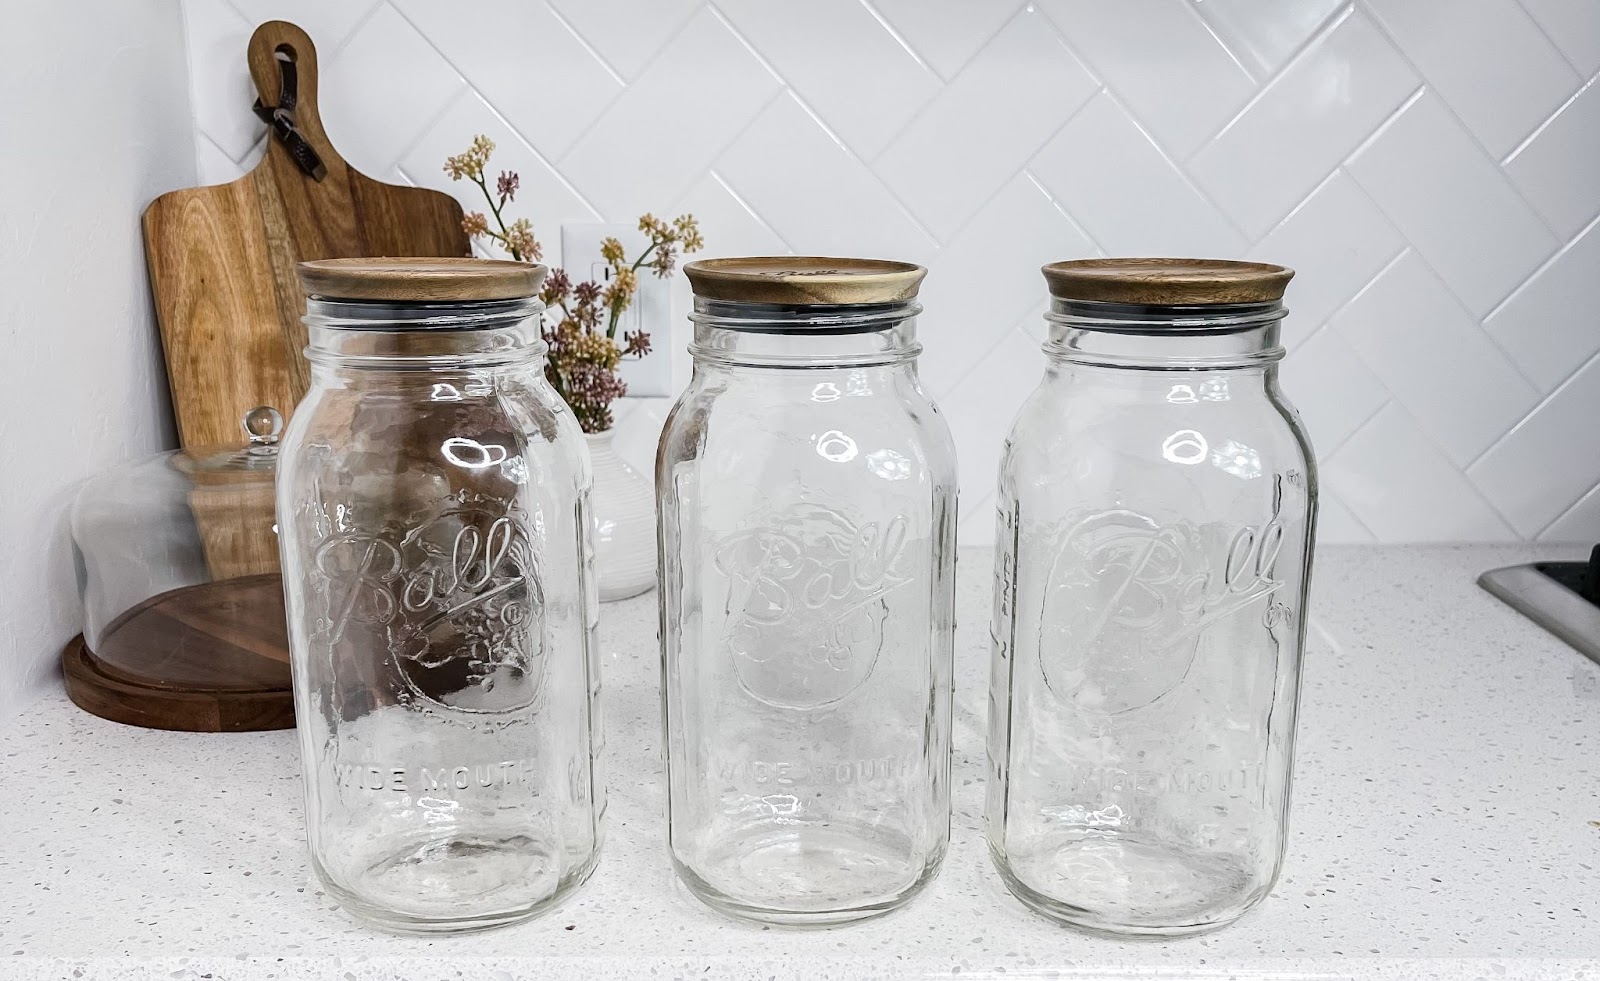
Step 3 | Grab Your Containers
For this project, I am using Ball® Half-Gallon jars and Ball® Wooden Lids, and let me tell you.. these jars are EVERYTHING you could ever want in an organization container for your dry goods. They are functional (easy to open & easy to clean) and so practical for any space. I changed out the lids to their new acacia wooden lids and it brought the perfect aesthetic to the entire organization project plus they are airtight so your dry goods will stay nice and fresh.
I’m also going in with a few bins to organize any extra products (chocolates, marshmallows, candy melts, sprinkles, etc) that I don’t grab on an everyday basis but still want close by.
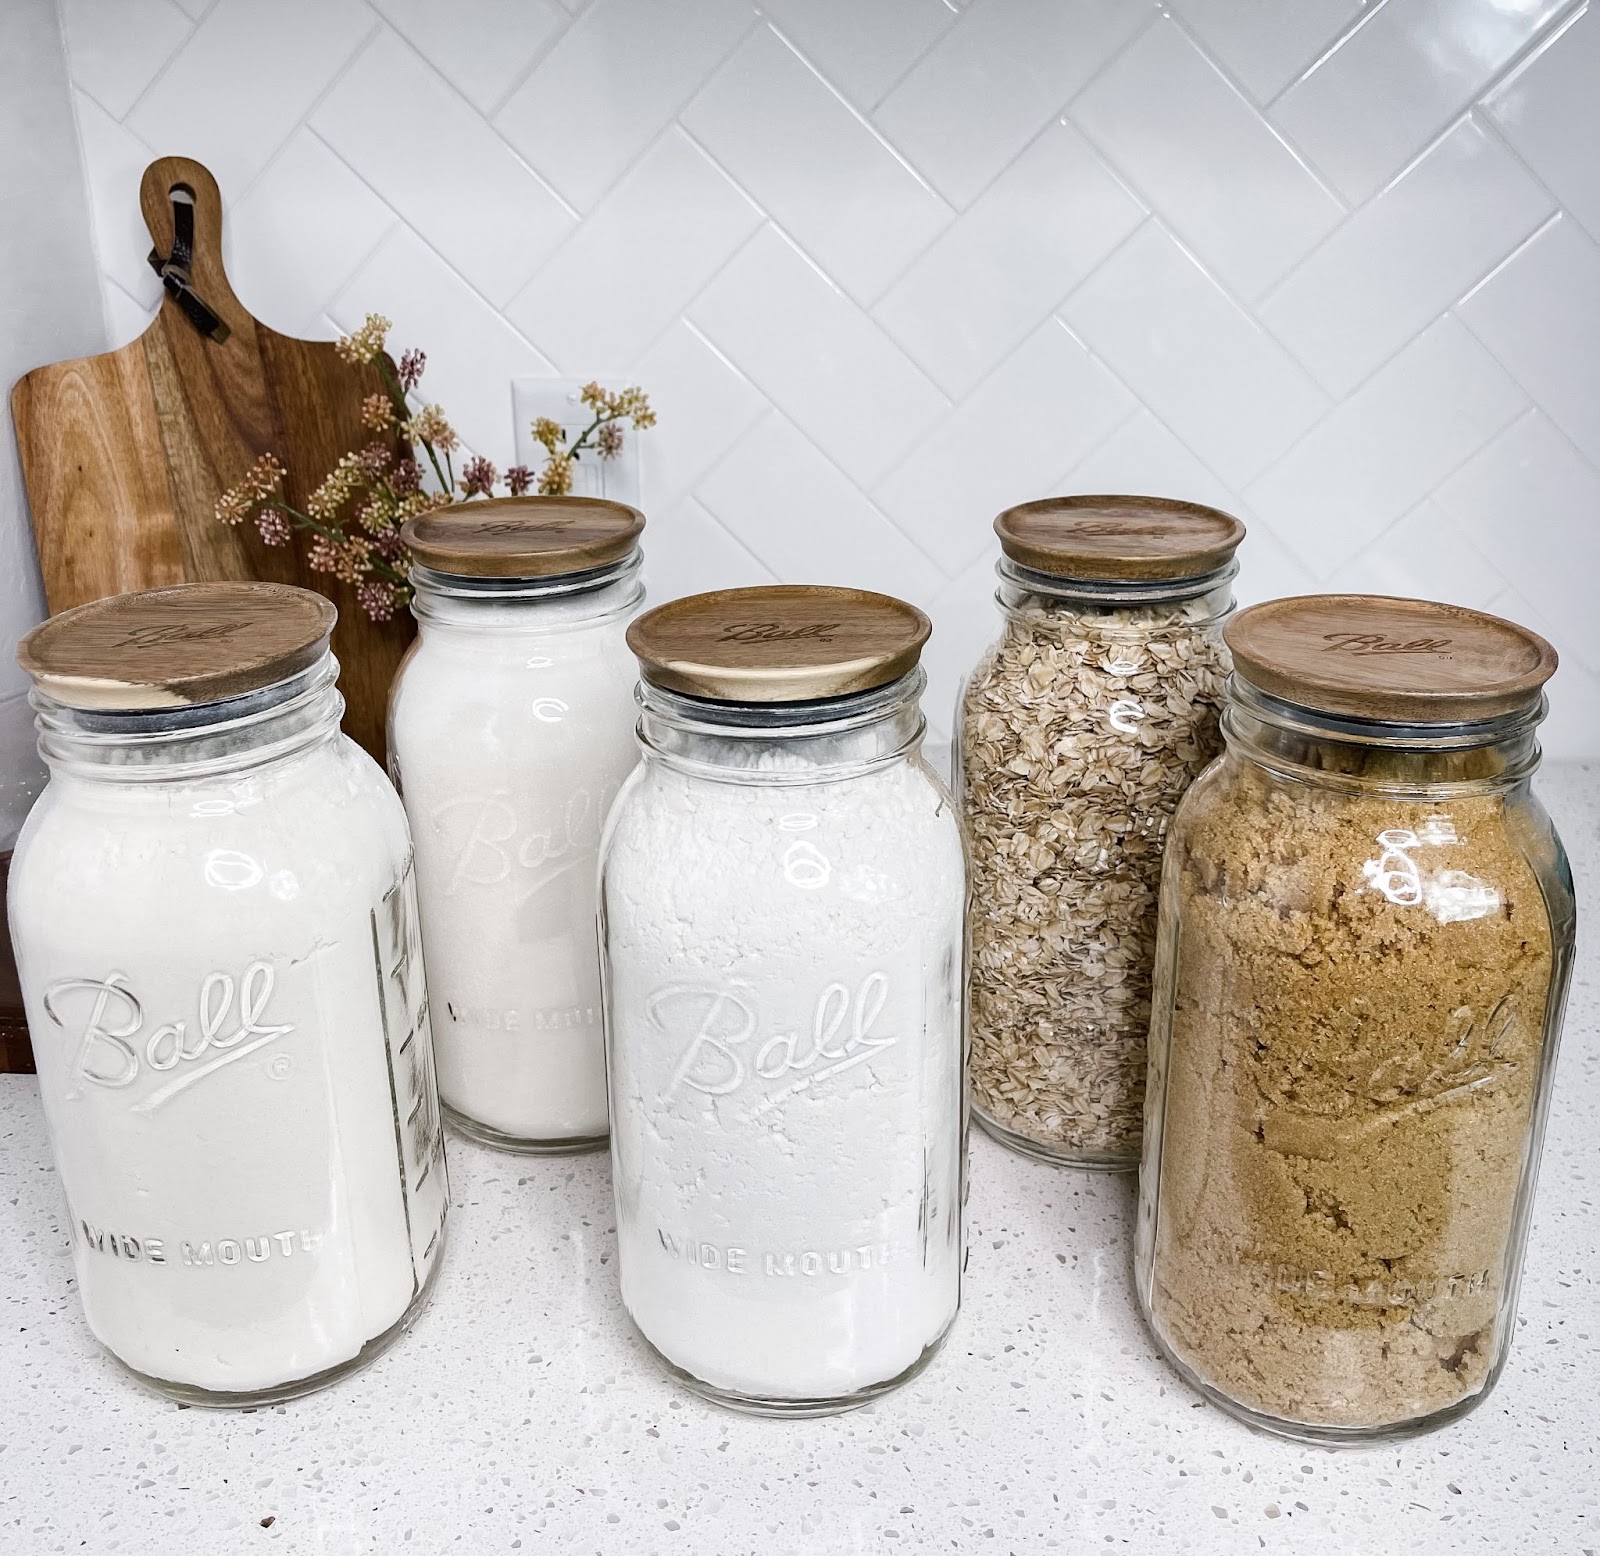
Step 4 | Let’s Stock
It’s time to start adding all of your baking ingredients to your jars! (AKA my favorite part)
I added my most used ingredients. This will look different for everyone depending on the products you use most often. I used flour, sugar, brown sugar, pancake mix, and oats. For products that aren’t loose ingredients, I added them to the bins for easy access.
Step 5 | Time to Organize
Now that everything is stocked in the containers and ready to go, it’s time to start working on container placement.
One pro tip I have is to put the supplies and ingredients you use most often in the front so you can easily grab them when you need them, and you won’t have to move other products around too much.
If you happen to have any extra product that doesn’t fit in the jars, you can use the back of the cabinet for backstock with smaller Ball® Pint Jars with Wooden Lids and you will be able to refill your jars when needed!
I completed my baking station by adding all of my baking bowls and dishes so everything is in one place!

Disclosure: This is a sponsored post that is part of an ongoing partnership with the Fresh Preserving Division of Newell Brands. They have provided jars, equipment, and monetary compensation. All thoughts and opinions expressed remain my own.
Leave a Reply