How to Organize a Small Pantry on a Budget
Have you ever seen those gorgeous Pinterest pantries and thought to yourself “if only I can make my pantry look like that.” Well today is your lucky day, because I’m here to tell you that YOU ABSOLUTELY CAN.
And no… you don’t have to have a pantry the size of a walk in closet. And no… you don’t have to break the bank!
I’m going to show you exactly how to organize a small pantry on a budget while still getting that Pinterest perfect look.
This post may contain affiliate links. This means I will earn a commission if you purchase through my link, at no extra cost to you. Please read the full disclosure here.

How to Organize a Small Pantry on a Budget
Step 1: Remove Everything
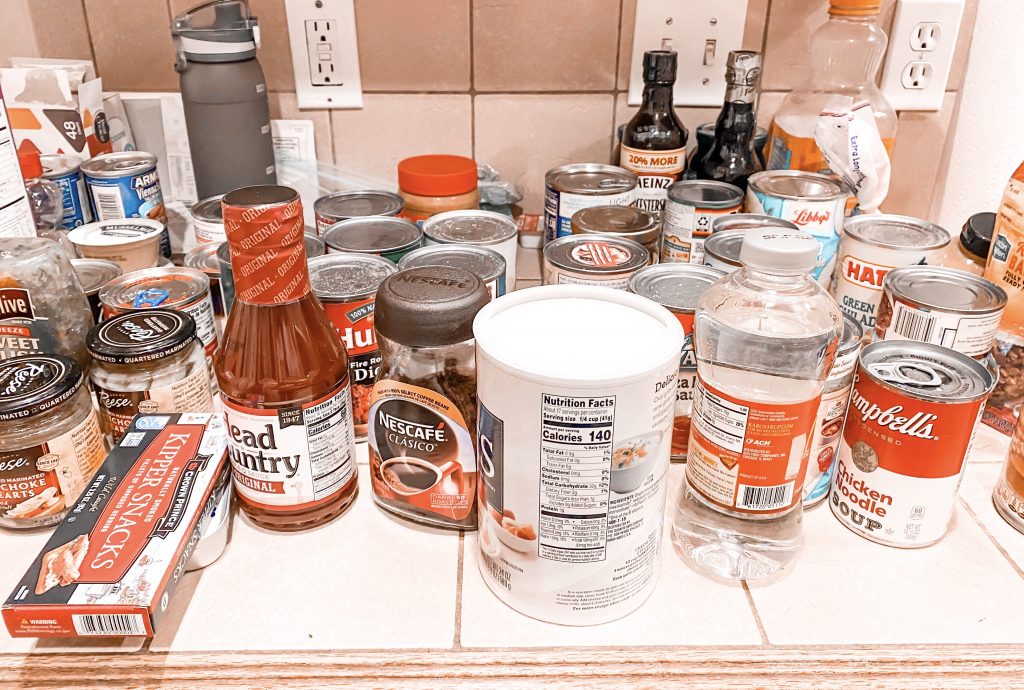
Before we get started organizing your dream Pantry, we first have to go through and take everything out.
Clear a space on your countertops and tabletops where you can place everything in your pantry.
This will allow you to be able to better see what items you have, what you need to stock up on, and things to get rid of.

Step 2: Group related foods
To make things easier before you put your items back into the pantry, group your food items into separate areas.
Create a section for grains, boxed foods, cereals, snacks, condiments, and any other food groups that you may have. You can also do it by meal type: breakfast, lunch, dinner and snacks.
Grouping everything together will make it so much easier to figure out what containers will go where and what containers will contain what.
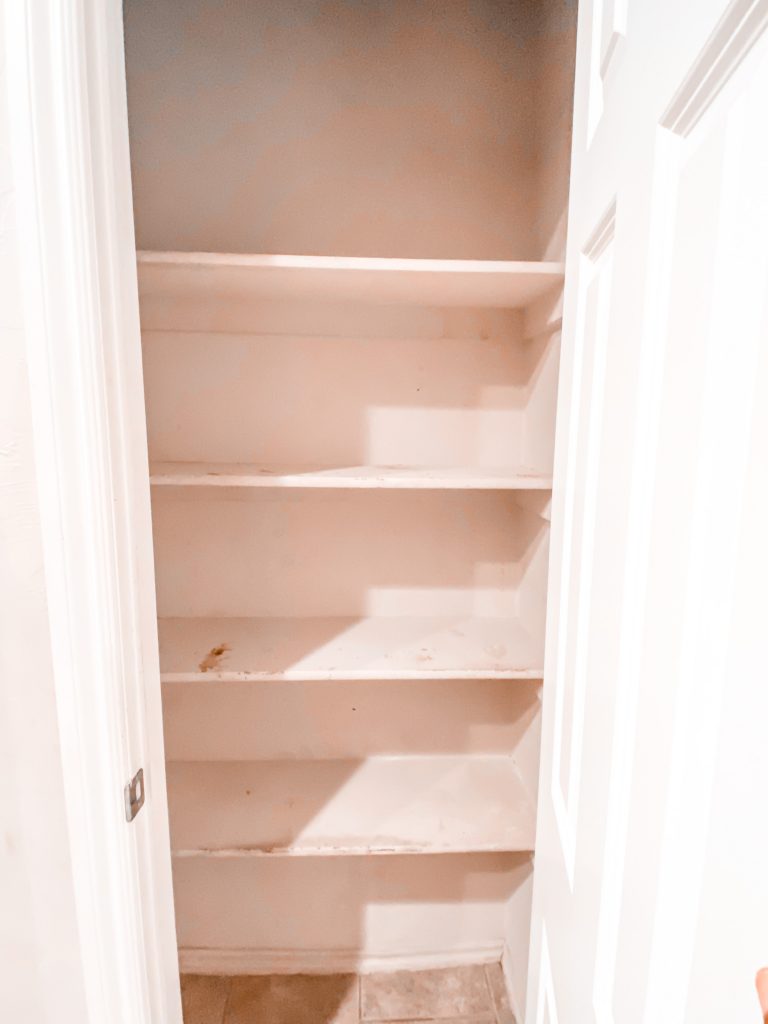
Step 3: Clean your shelving
Once everything is removed from your pantry go ahead and give your pantry shelves a good wipe down.
Pantry shelves are something that don’t typically get cleaned as often as they should be. There is always something in the pantry. It’s kind of a drag to remove everything out all the time.
But now that you are organizing everything, it is the perfect time to give it the cleaning that it needs and get a better idea of the space that you have to work with.

Step 4: Establish Container Placement
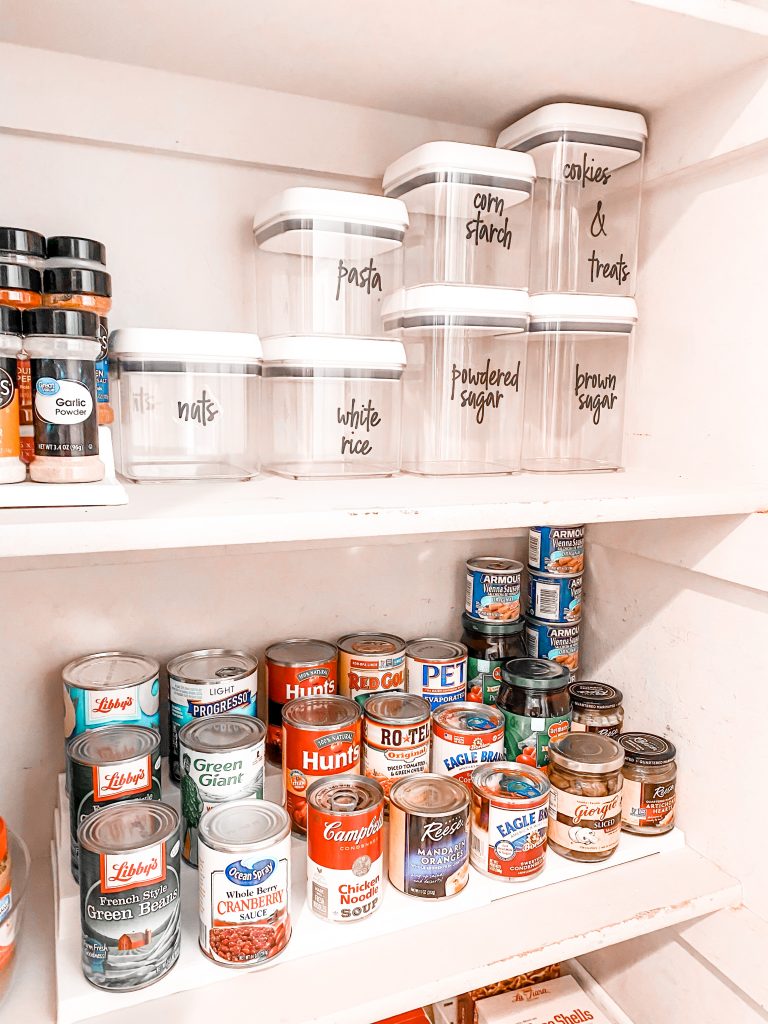
Before you start labeling and filling your food containers up, you want to make sure you know exactly where you are putting everything.
I recommend keeping everything in the groups that you sorted your food out in earlier. For example, keep your pastas in the same areas, keep your snacks in the same areas, keep baking goods in the same area, etc.
Play around with your containers and placement options to decide what works best for your space and your everyday needs.
One organizing process I go by is keeping everything that I use on a regular basis towards the front. However, If you’re short on space and are needing to stack containers, always put your most used containers on the top of your stack to be able to grab it easier.
Some of the containers that I purchased were from Homegoods, but I have linked similar options below.


Step 5: Place your labels on the containers
Now that you know exactly what containers are going where it’s time to start placing your labels on your containers.
Click here to purchase the exact labels that I used on my containers from Amazon!
Step 6: Fill your containers
After you have your containers labeled and placed exactly where you want them to be, it’s time to start filling them up! (AKA the BEST part)
One rule of thumb that I follow is using as little of the original packing as possible. I know that not everything can be effectively taken out, but keep this in mind for loose items.
Things like flour, spaghetti, oatmeal, nuts, seeds, rice, cereal, etc will go perfectly in the containers by themselves.
I have also found that buying smaller-sized pre-packaged things such as applesauce, goldfish, and other snacks look very aesthetically pleasing in containers.

Organizing Tips For Small Pantry
If you get overwhelmed, just breath
If your pantry hasn’t been organized for years (like mine), I’m just going to tell you now that it can get a little overwhelming seeing the amount of stuff that you have to go through.
Remember to just breathe and just take it step-by-step. Whenever you break things down into smaller steps like I have done in this post, it will lessen the overwhelm and help you to get your head wrapped around everything. You’ll be so much more prepared to power through the process.
Grab an extra set of hands
Pantry organization can be a difficult task. Don’t be afraid to ask your family or friends for help with your project.
Not only will it help you get through the process faster, it also helps to have an extra set of eyes helping you see / organize what you have.
Don’t be afraid to part with things
When cleaning out your pantry and preparing it for organization, there will be more than likely be a few things that you will have to part with in order to make sure you have adequate space for the things that you really need.
A good rule of thumb is to determine if you have used the product within the last six months to a year. If you haven’t, throw it out / give it away.
If you have, assess if you really need the item or not. One thing I like to do is get into a “this for that” mindset.
For example if you really need item #1, then item #2 has to go. If you don’t need item #3, you can keep item #4. And you can just keep going down the list.
How to Organize a Small Pantry on a Budget
If you liked this post, you may also like:

I am retired and living in a 55+ apartment that is about 500 square feet. I’ve found that I can store things more efficiently if I use square/rectangular storage containers instead of round ones. Every square inch counts! I will be moving in the spring and will put a 72 inch bookcase in the kitchen for pantry items instead of the stand alone cabinet I already use. Throughout my place I hang curtains I’ve bought or made on shelving units to hide their contents.
Love it. Thanks my next project this week 👍🏽